How to Pack Electronics Efficiently: A Traveller’s Step-by-Step Guide
You’re twenty minutes from leaving for the airport. Your laptop is in your backpack, your phone charger is somewhere in your checked bag, your power bank is dead, and you just realized your noise-cancelling headphones are tangled around three different cables you don’t recognize. Sound familiar? If packing electronics feels like a chaotic guessing game every time you travel, you’re not alone — and it doesn’t have to be this way. Learning how to pack electronics efficiently is one of the highest-impact changes you can make to your travel routine.
Quick Answer
To pack electronics efficiently, keep all your devices and accessories in one dedicated pouch or compartment, charge everything the night before, and audit your kit before every trip so you only bring what you’ll actually use. A consistent system means you’ll never dig through your bag at the gate again.
What You’ll Need Before You Start
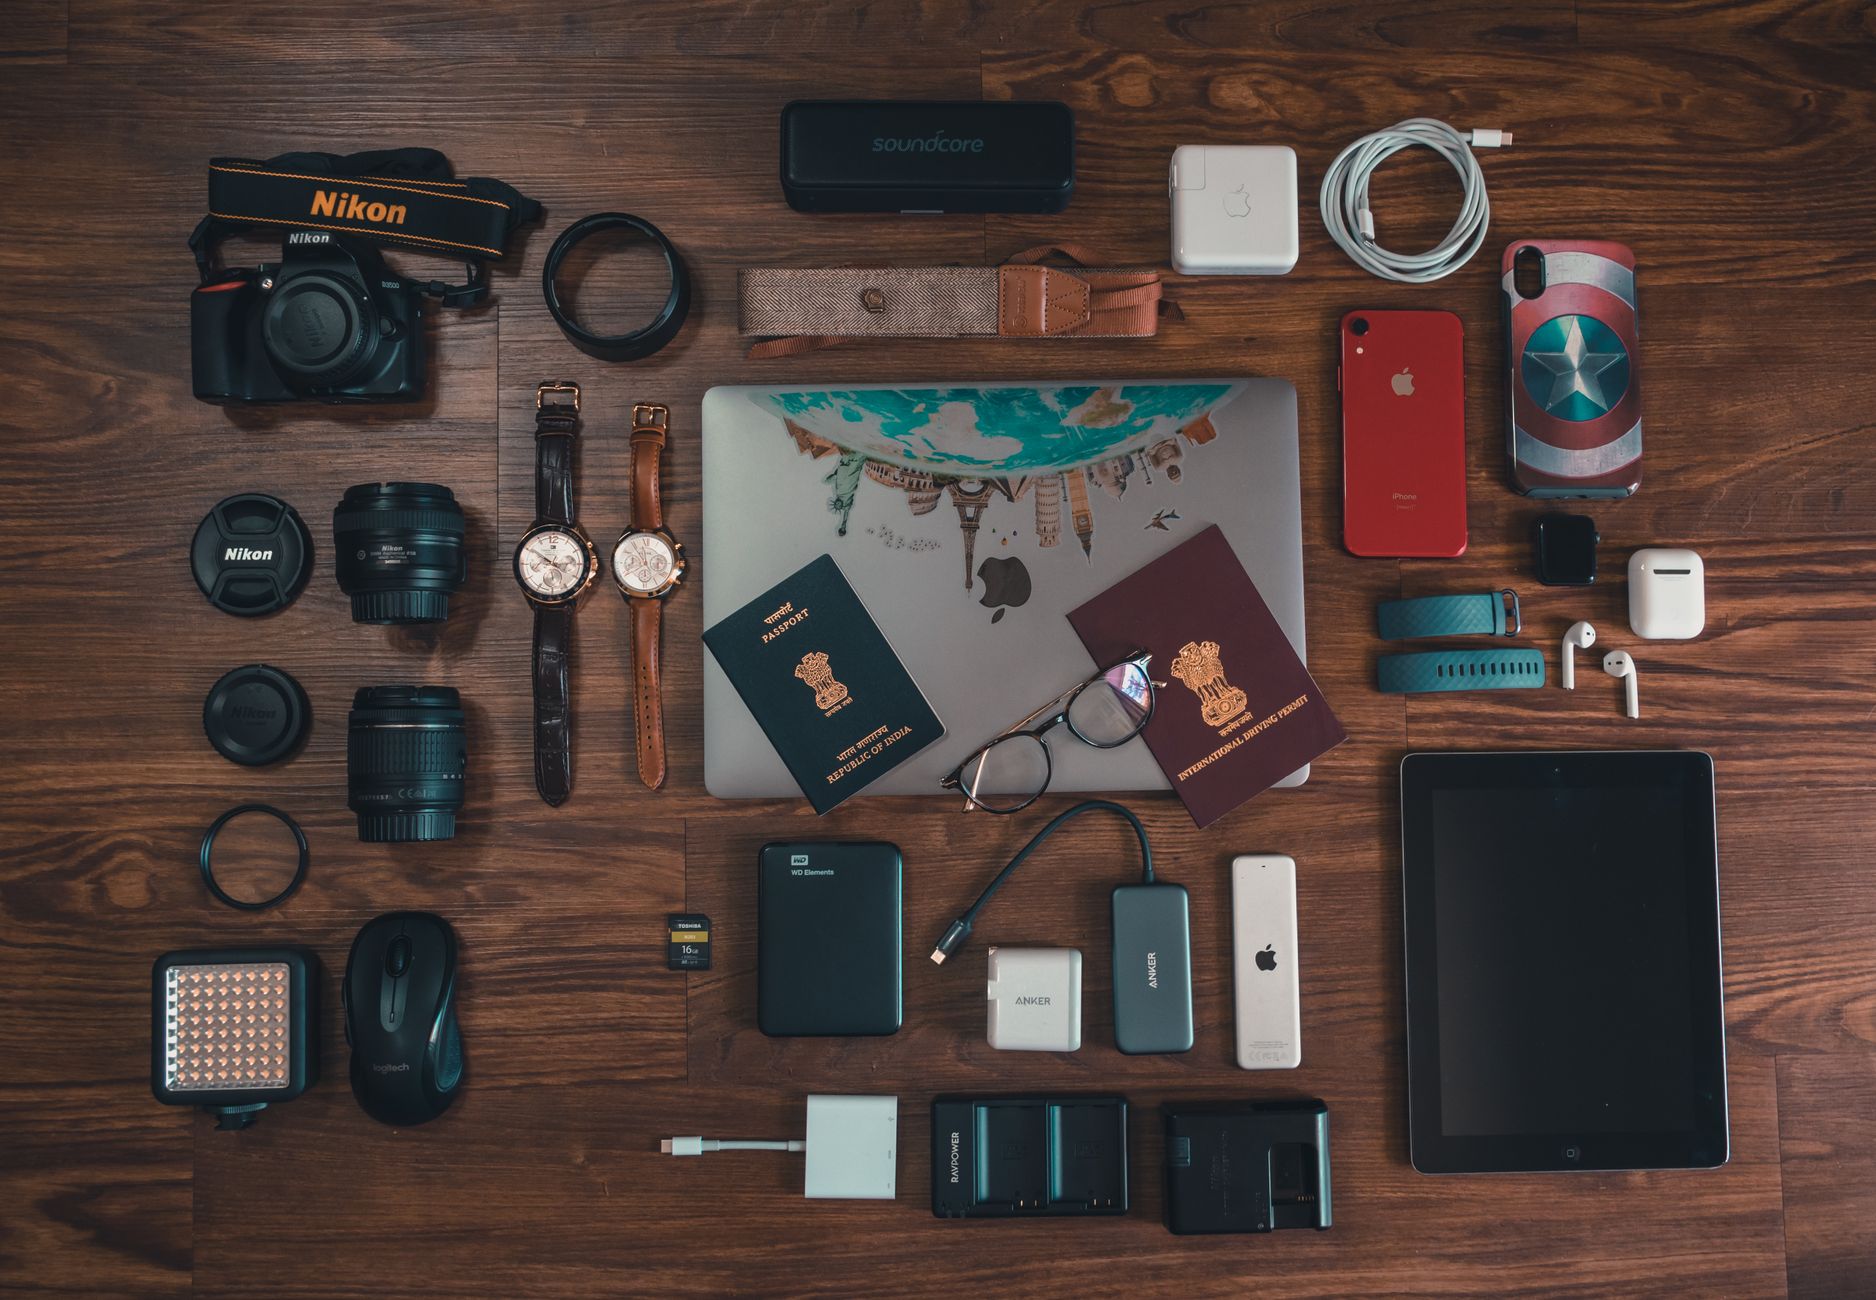
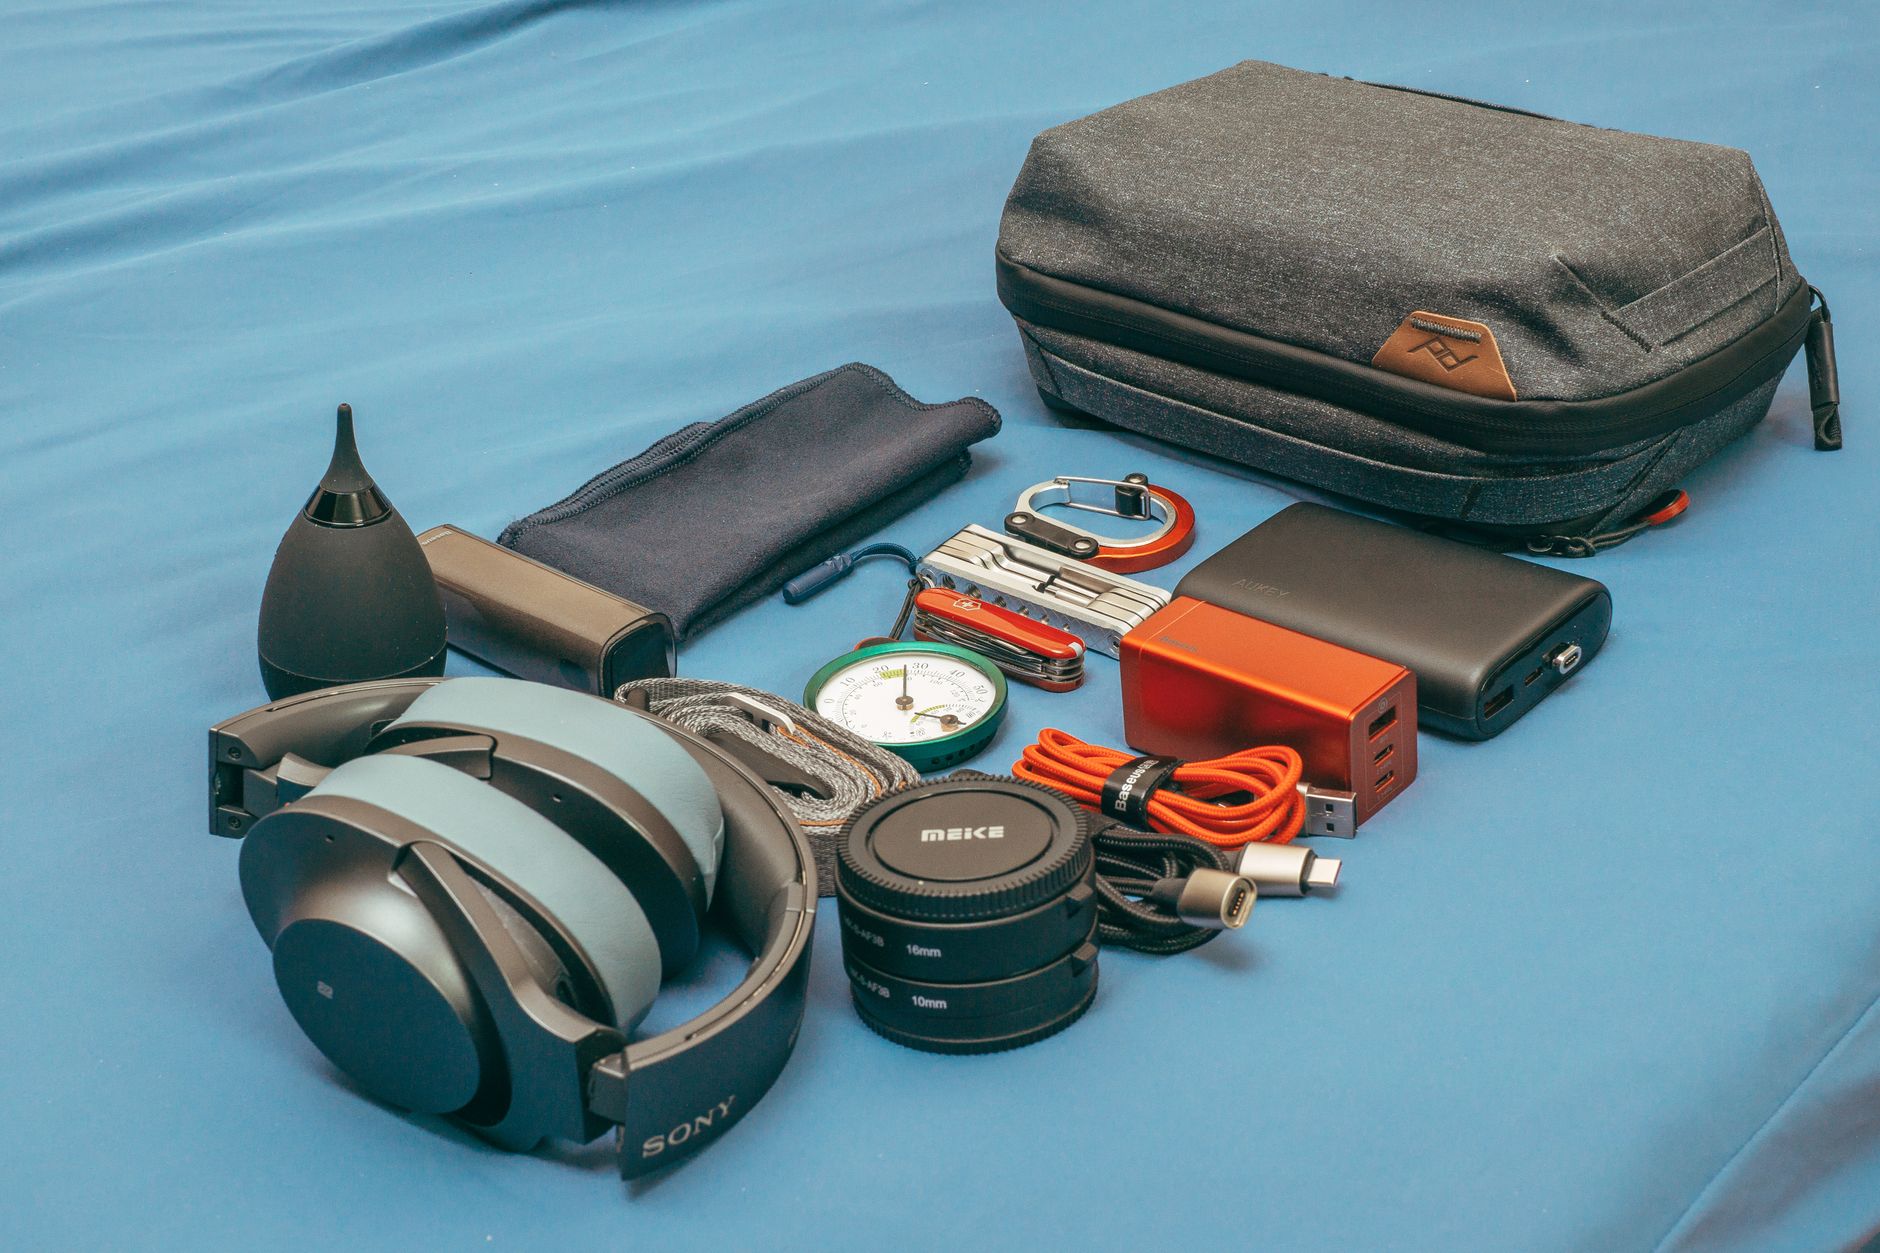
Before diving into the steps, it helps to gather everything in one place. Pull out every electronic device and accessory you’re considering bringing. Yes, all of it — every cable, adapter, charger, and gadget. Lay it out on your bed or table so you can actually see what you’re working with.
Here’s what a typical traveller’s electronics kit looks like before it gets edited down:
- Laptop or tablet (sometimes both)
- Smartphone
- Earbuds or headphones
- Portable charger (power bank)
- Laptop charger, USB-C cable, phone charging cable
- Travel adapter or multi-plug
- E-reader
- Camera and accessories
- Smartwatch and charging cable
That list adds up fast. The goal of this guide is to help you bring exactly what you need, protect it properly, and access it without stress. You don’t need to buy a lot of new gear — mostly, you need a system.
Step-by-Step: How to Pack Electronics Efficiently
Step 1: Audit Your Electronics Before Every Trip
The single biggest mistake travellers make is packing on autopilot. They toss in the same gear they brought last time without asking whether they actually need it. Before every trip, do a quick audit.
Ask yourself three questions for each item: Will I use this on this specific trip? Can my phone replace it? If I don’t have it, what’s the actual consequence? A tablet, for example, might be essential on a long-haul flight but completely unnecessary on a weekend road trip where you’ll have your laptop anyway.
Cut ruthlessly. Every device you remove is one fewer charger, one fewer cable, and meaningfully less weight in your bag. The best packing tip is the one you’ll actually use — and “bring less” never gets old.
Step 2: Consolidate Your Charging Ecosystem
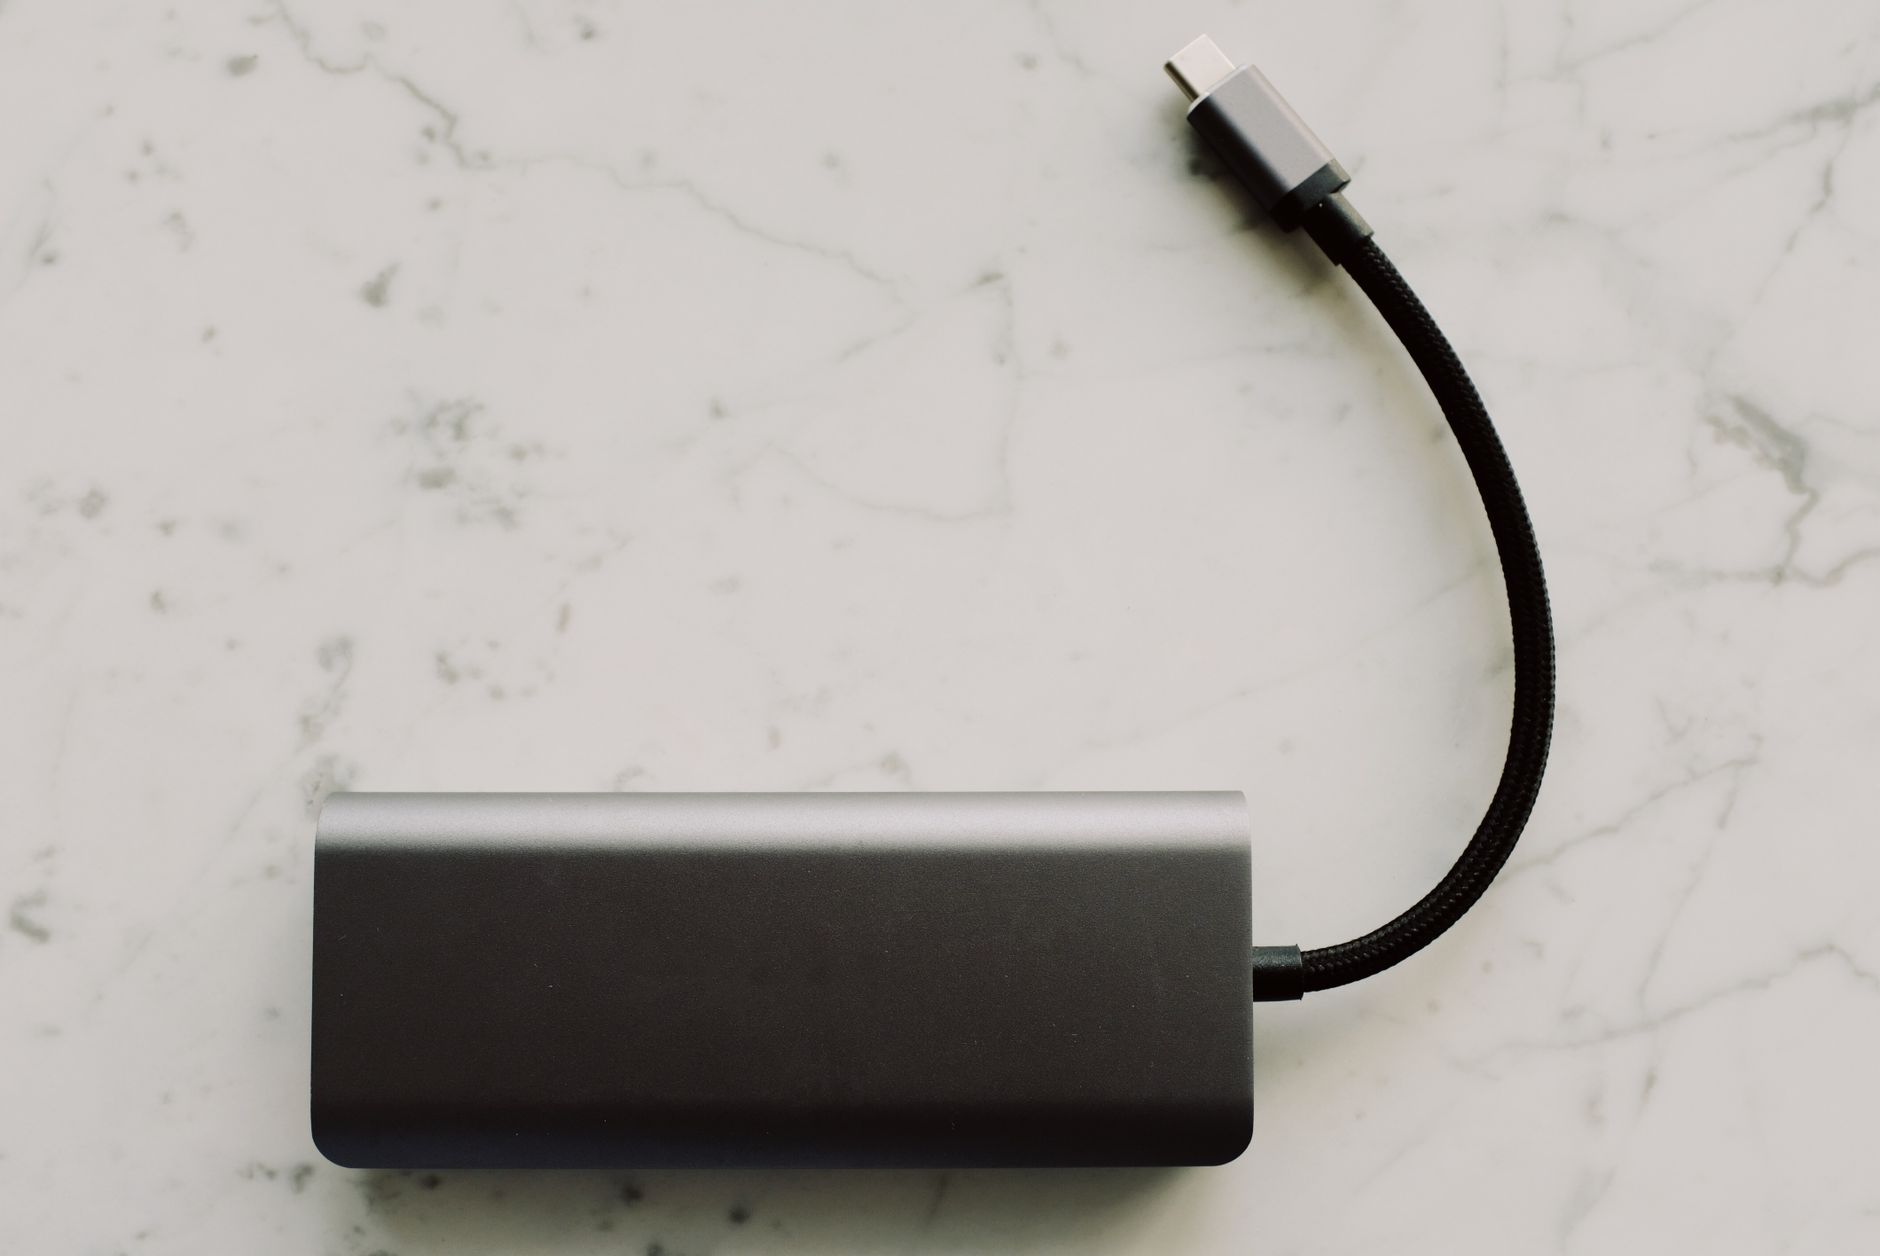
Charging cables and adapters are the silent killers of packing efficiency. Most travellers carry three or four separate chargers when they could get away with one or two. The goal is consolidation.
If your devices support USB-C, invest in a single multi-port GaN (Gallium Nitride) charger. Many modern chargers have two or three USB-C ports and can handle your laptop, phone, and earbuds simultaneously. That single charger replaces three separate bricks and saves significant space and weight.
Look at your cable situation honestly. If you have four USB-C cables and only two USB-C devices, you’re carrying extras. Keep one backup cable per device type — not one per device. Label your cables with a small luggage tag or coloured tape if they’re identical. Future you will appreciate it at 6 a.m. in a dark hotel room.
Step 3: Dedicate One Compartment or Pouch to Electronics
Electronics belong in one place — always. Not spread across three pockets, not loose in your main compartment, not shoved in wherever they fit. One dedicated space.
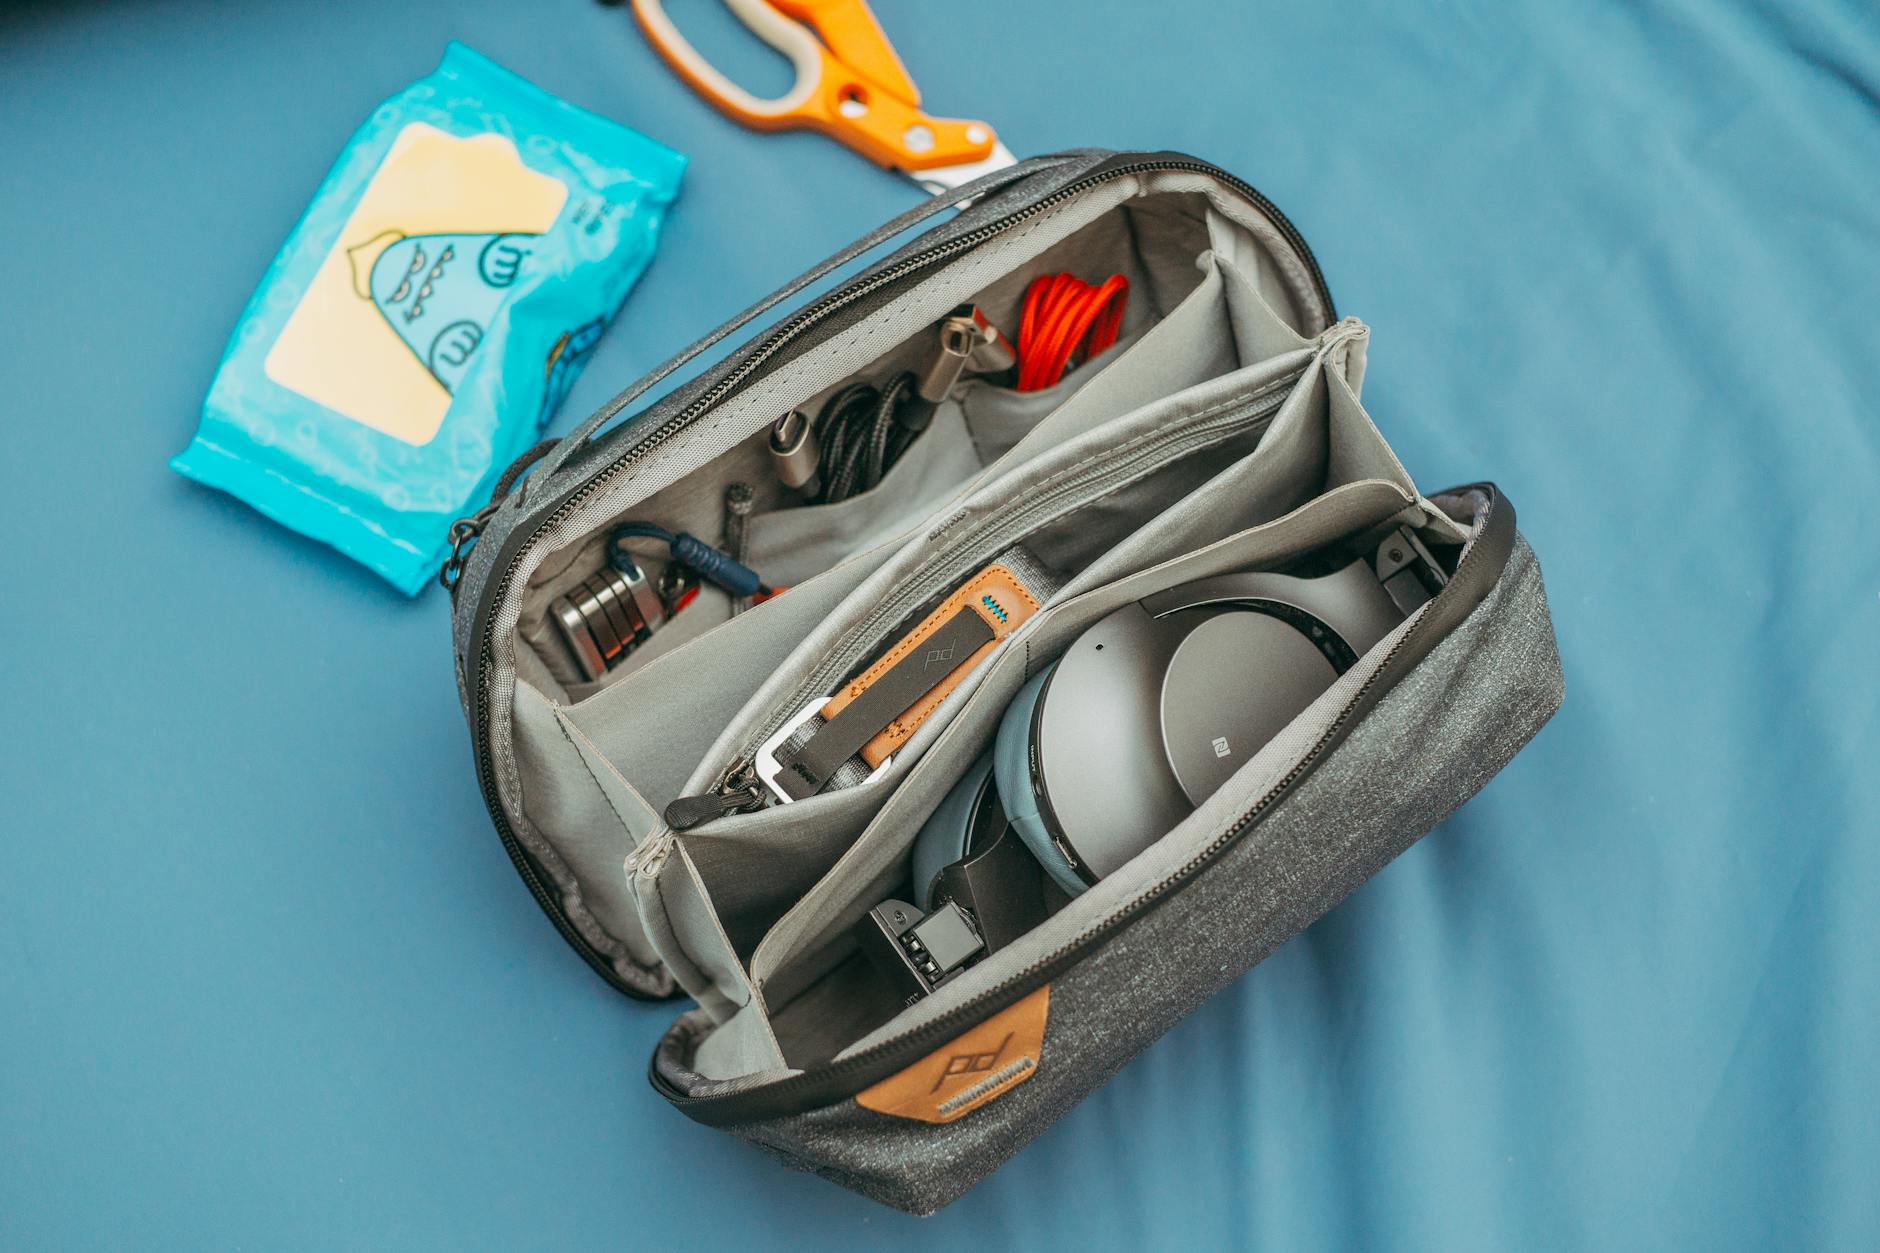
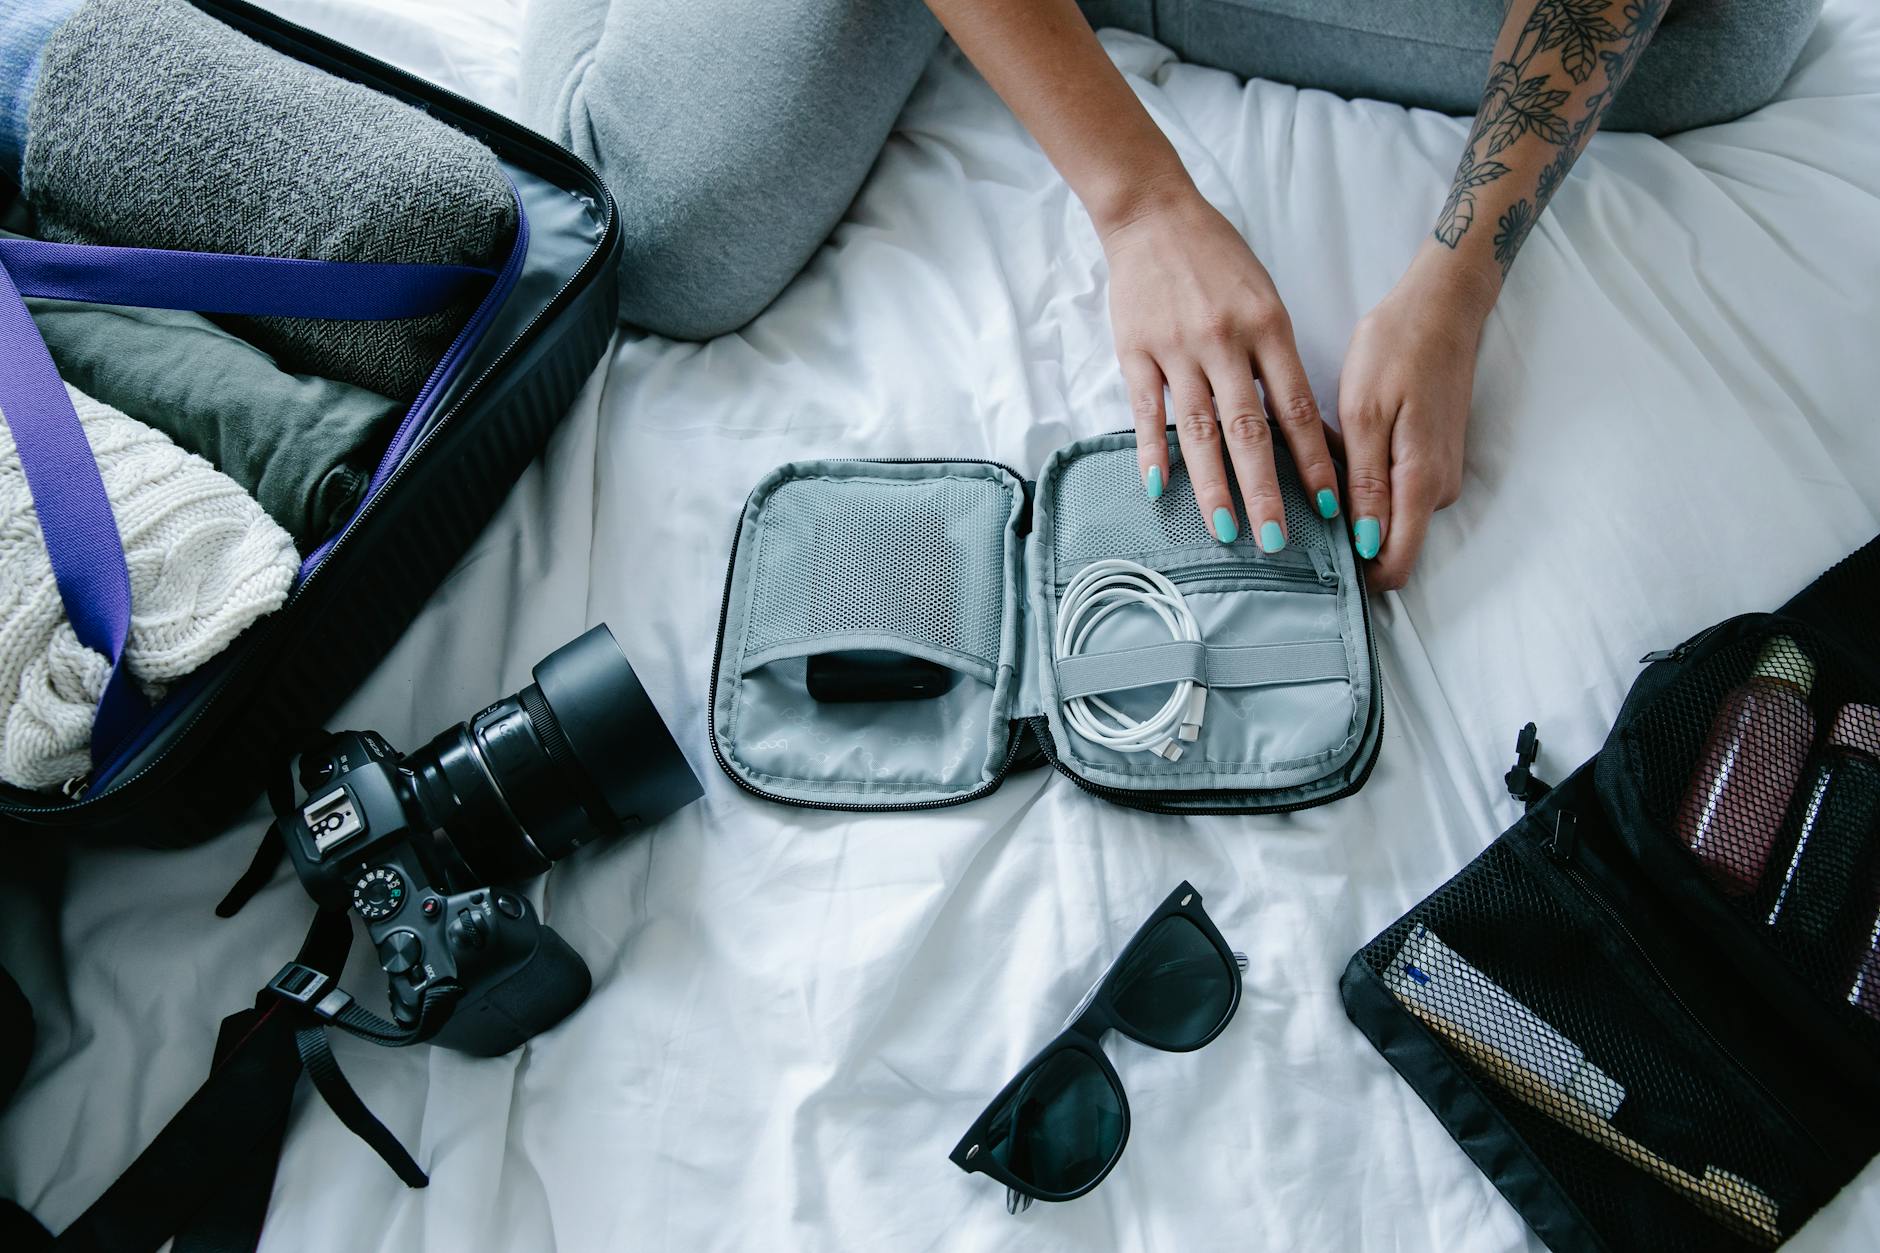
This can be a small electronics organizer pouch, the tech compartment in your backpack, or a slim packing cube reserved specifically for accessories. The exact container matters less than the consistency. When everything lives in the same spot every trip, you stop forgetting things and stop spending ten minutes fishing for your charger at the hotel checkout.
If you’re using a carry-on suitcase, a flat accessories pouch in the top lid works well. If you’re using a backpack, keep electronics in the front-access pocket so you can get to them at security without unpacking your whole bag. Knowing how to pack based on your itinerary helps here — the electronics you’ll need most often should be the most accessible.
Step 4: Protect Fragile Items Properly
Packing electronics efficiently doesn’t just mean organized — it means protected. A scratched laptop screen or a cracked lens isn’t a packing win, no matter how tidy the kit looks.
Here’s a simple protection hierarchy to follow:
- Laptops and tablets: Always use a padded sleeve, even if your bag has a dedicated laptop compartment. The sleeve adds a layer of protection when you pull it out at security.
- Headphones: If they fold, use a hard case. If they don’t fold, consider whether they belong in your carry-on at all.
- Cameras and lenses: Wrap lenses in microfibre cloths and keep them in a padded pouch. Never leave them loose in your main bag compartment.
- Power banks: Keep lithium batteries in your carry-on, not checked luggage — this is also a airline safety requirement in most countries.
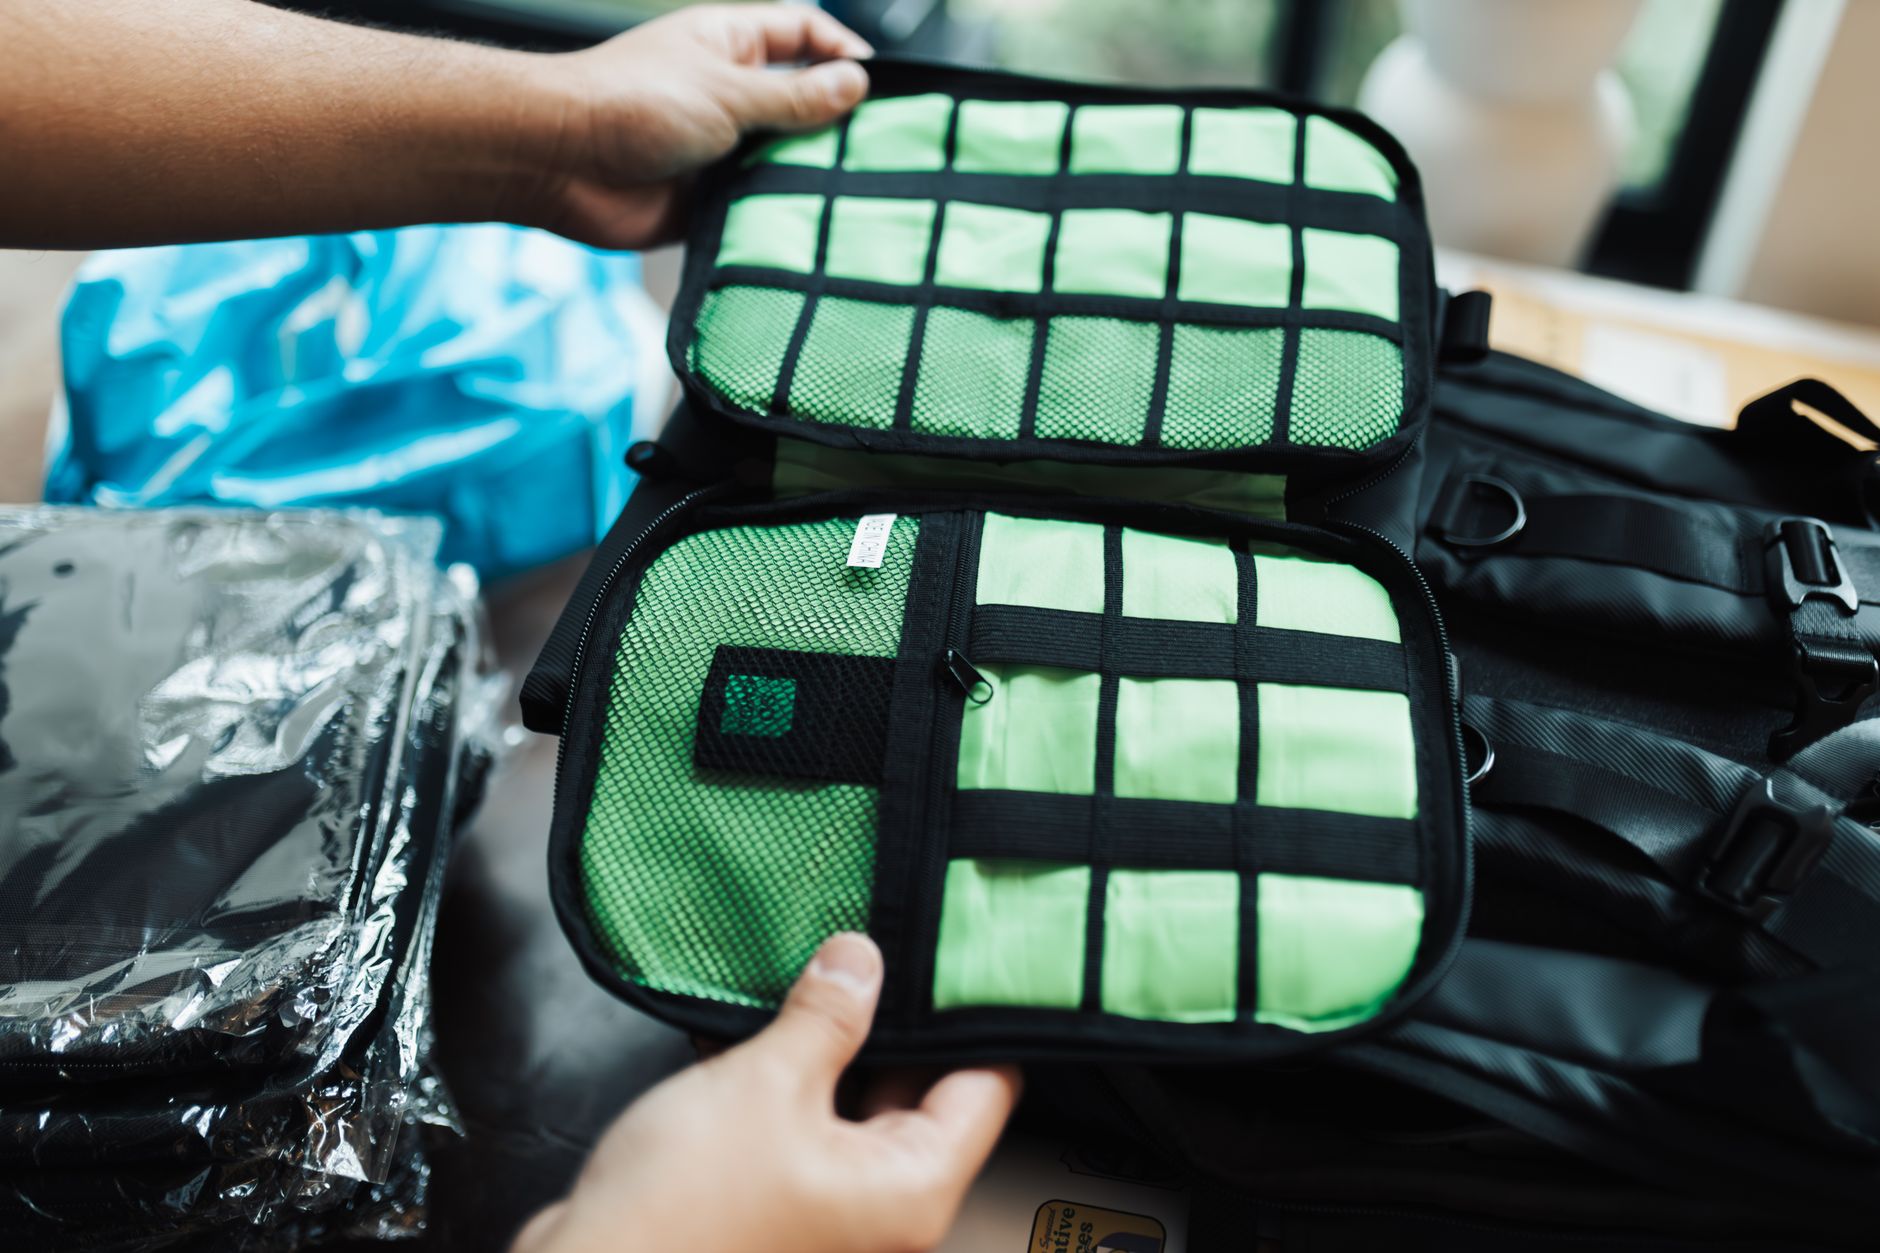
- Small accessories: Cables, adapters, and earbuds do well in zippered mesh pouches inside your electronics organizer. Mesh makes it easy to see what’s inside without dumping everything out.
Step 5: Charge Everything the Night Before
This sounds basic, but it’s the step most people skip. Every device in your kit should leave home fully charged. Your phone, your laptop, your power bank, your earbuds, your e-reader — all of it.
A fully charged power bank is essentially a security blanket. It means a delayed flight, a dead airport outlet, or a long transit day isn’t a crisis. When you arrive at your destination, you’re ready to navigate, communicate, and work without hunting for a charger immediately.
Set a reminder on your phone the evening before departure. Make “charge everything” as automatic as setting your alarm.
Step 6: Handle Airport Security Like a Pro
Security screening is where a good electronics packing system pays off immediately. In most countries, laptops need to come out of your bag and go in a separate bin. Some airports also require tablets and large electronics to be removed.
Pack your laptop so it’s the first thing you can access, not buried under your clothes. If you’re using a backpack with a dedicated laptop sleeve, it should open independently from the main compartment. Slide it out, drop it in the bin, and move through the scanner without holding up the line.
Keep your electronics pouch near the top of your bag as well. If a TSA agent wants to inspect your accessories, you can hand over the whole pouch in seconds instead of unpacking everything. Getting this right is part of the bigger system covered in Minimalist Travel Planning Guide — the less you’re carrying and the more organized it is, the faster and calmer every transit moment becomes.
Pro Tips for Packing Electronics Smarter

Use a Bento-Style Electronics Organizer
A flat, accordion-style electronics organizer with individual slots for cables, adapters, and small devices is a game-changer. Unlike a simple zip pouch where everything mixes together, a bento organizer lets you see and grab exactly what you need instantly. Look for one with elastic loops for cables and individual pockets for larger items like a power bank or mouse.
Keep a “Travel Tech” Profile in Your Password Manager
Create a folder in your password manager with the Wi-Fi passwords for places you frequent, your hotspot login, and your VPN credentials. It takes five minutes to set up and saves significant friction when you land and need to connect. This is especially useful for business travellers bouncing between hotels and coworking spaces.
Store Cables in Reusable Silicone Bags
Small reusable silicone bags — the kind originally designed for food storage — are surprisingly excellent cable organizers. They’re lightweight, see-through, flexible, and compressible. Separate your cables by type (power, data, audio) and put each group in its own bag. When you need something, you grab the right bag and open it, rather than pulling out a tangled mess of every cable you own.
Common Pitfalls When Packing Electronics
Pitfall 1: Packing “Just in Case” Cables
It’s tempting to throw in every cable you own because “you never know.” The result is a tangled, heavy mess of accessories you never touch. Instead, identify exactly which cables your devices require, bring one clean backup, and leave everything else at home. If you genuinely need a cable you forgot, you can almost always buy or borrow one at your destination.
Pitfall 2: Leaving Electronics Accessible in Checked Luggage
Beyond the airline rules around lithium batteries, checked luggage gets handled roughly and goes through spaces where theft is more common. Expensive electronics — laptops, cameras, power banks — belong in your carry-on, full stop. This isn’t paranoia; it’s basic risk management. If your checked bag gets delayed or lost, you want your devices with you.
Pitfall 3: No System for Knowing What’s What
Most cables look identical. Most adapters are interchangeable in shape but not in function. When everything is unlabelled and loose, you waste time guessing — or worse, you leave something behind because you didn’t realize which cable belonged to which device. Label your cables, use colour-coded organizers, or photograph your full electronics kit before you pack it. A ten-second photo saves twenty minutes of searching at hotel checkout.
💡 Better Travels Tip: Electronics accessories are the top reason carry-on bags feel heavier and messier than they should. Our Better Travels Compressible Packing Cubes aren’t just for clothes — a slim cube reserved exclusively for your tech accessories compresses flat when empty and keeps your electronics zone completely separate from the rest of your bag. Available on Amazon Canada and Amazon US, they’re one of the simplest upgrades to a better carry-on system. Better gear, simpler trips.
Final Thoughts
Learning how to pack electronics efficiently comes down to three principles: bring only what you’ll use, keep it in one dedicated spot, and protect what matters. That’s the whole system. Apply it consistently and you’ll spend less time digging through your bag and more time actually enjoying where you are.
Your next step: before your next trip, pull out every piece of tech you were planning to bring and run it through the audit in Step 1. You might be surprised how much you can leave behind — and how much lighter your bag feels when you do. Pack once, travel twice.

About the Author

Alex W.
Alex has been writing about travel logistics since 2019, with a focus on packing strategy and carry-on-only travel. When he’s not optimizing his airport routine, he’s probably repacking his bag for the third time this week.
